


Every year in the spring we start getting tons of inquiries regarding everyone's favorite hydrangea, the hydrangea macrophylla, also known as mophead hydrangeas or big leaf hydrangeas. And most of those questions and inquiries are about pruning this specific type of hydrangea, because everybody loves to prune their mophead hydrangeas. Sean, our horticulture guru here at The Gardener’s Center, says, “Stop! Back away from your pruners!”

Our Connecticut lawns are in need of spring treatments to ensure we have healthy turf for the rest of the growing season. Sean, our lawn and garden Guru, has three product recommendations to address the pH level of your soil and making sure your lawn gets properly fed.
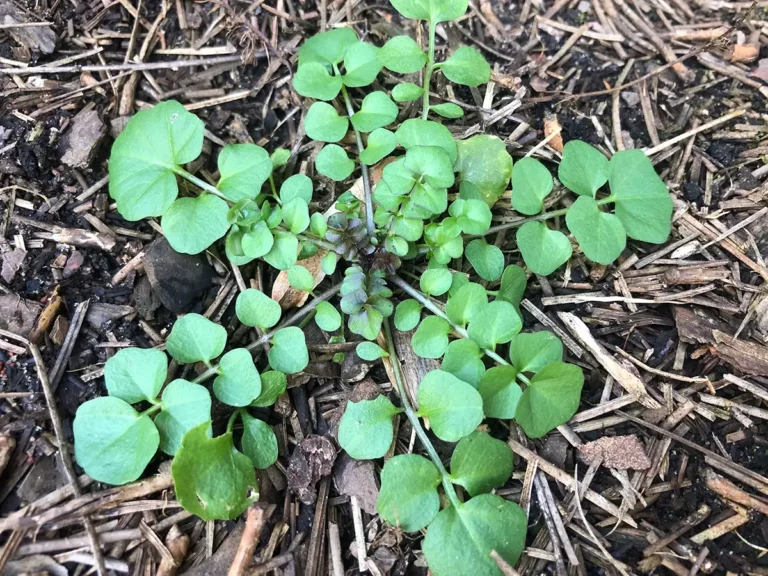
A member of the mustard family, Hairy Bittercress is usually the first weed to appear in the lawn in late winter and early spring. They spread quickly in the lawn, but they are very easy to pull and treat (and eat!) Yep, you can eat this weed. But don't be fooled by the name—Hairy Bittercress is edible with a flavor that’s mild and peppery, not bitter. If you're not interested in adding it to your salads or pulling by hand, use Bonide Lawnweed Brew before these weeds flower and set seed.

First things first… What is propagation? Joy says it’s basically like cloning your plant. Say your pothos is getting a little too long and leggy, and you need to give it a haircut. And maybe you feel bad throwing those leggy cuttings away. Time to grab a propagation station!
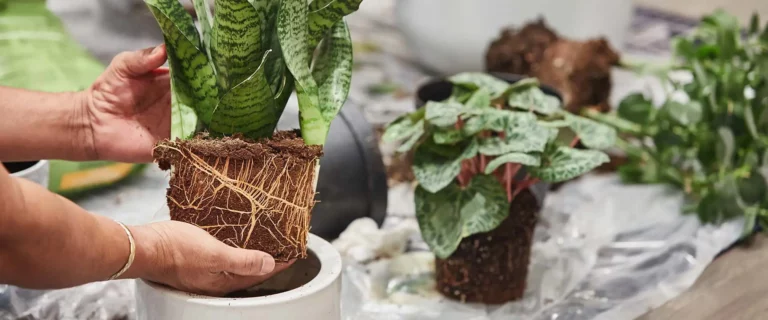
Big question: How do you know when it’s time to re-pot (or up-pot) your plant? Joy, our houseplant guru, says there are some key signs to look for when your plant is telling you, “Now’s the time!” Then she provides a step-by-step guide for successfully up-potting

Joy, our houseplant guru, wants you to know about some unique plants and special varieties that are giving her all the feels. What’s so special about these? She loves their interesting growing patterns, or the way they react to temperature, light or vibrations. Or they’re just exceptionally cool.
