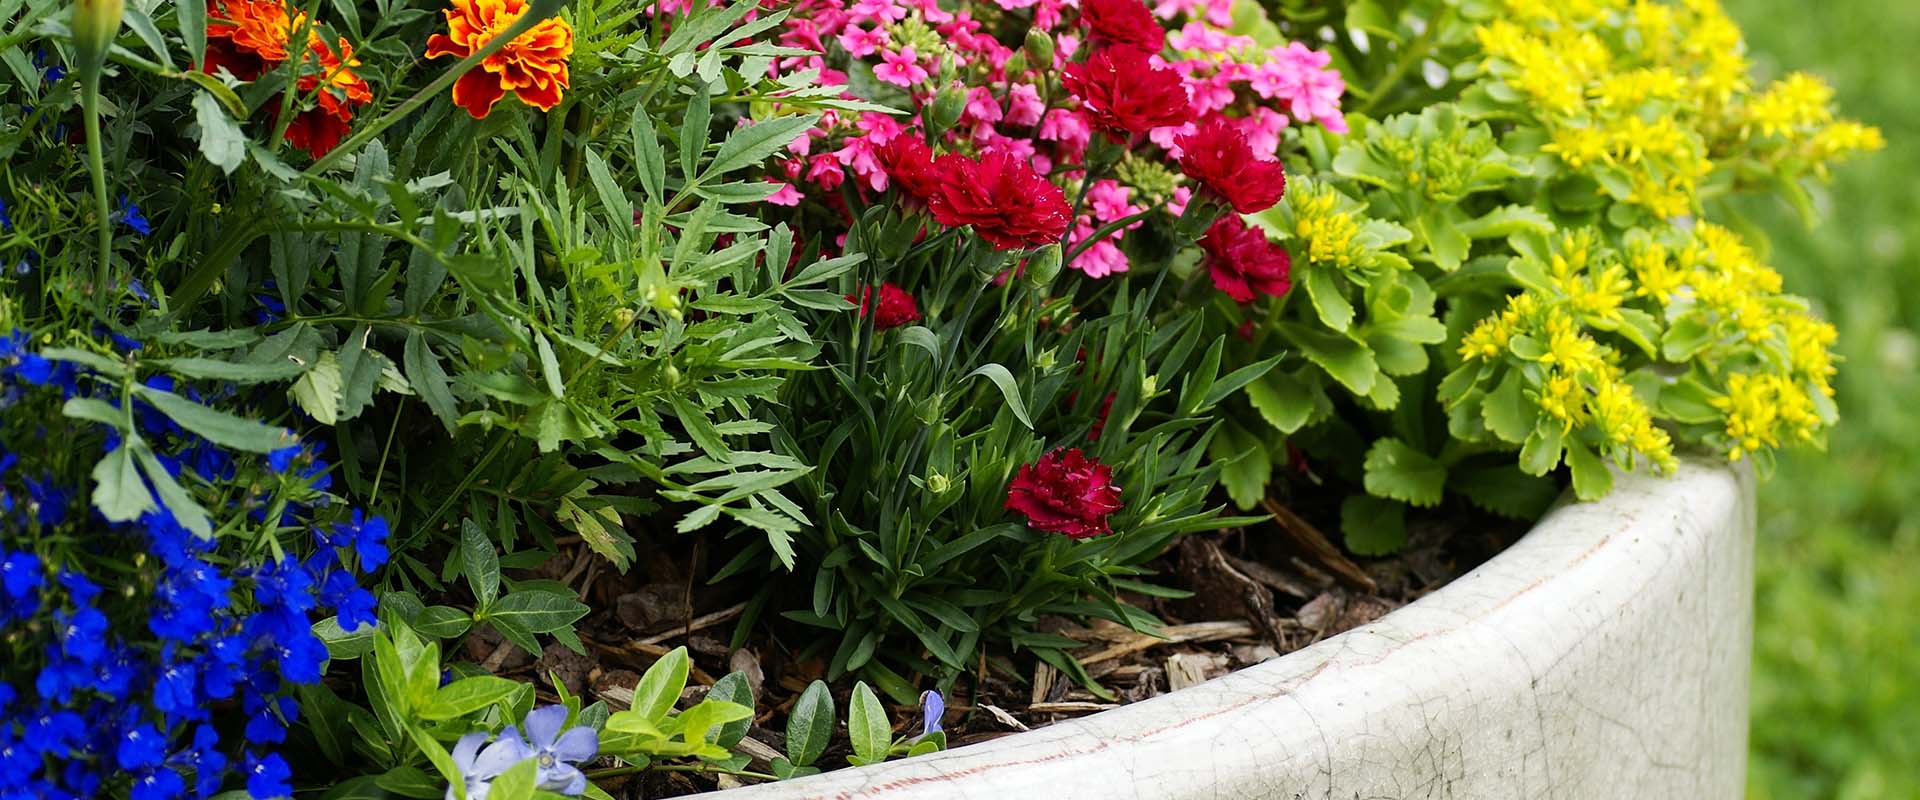
So you want to enjoy beautiful plants in your pots, hanging baskets and window boxes. Of course you do! But Sean says, it’s not as simple as getting a container, putting soil in it, putting plants in it, and… You’re done. Well, that is, as long as you want your container plants to be as healthy and beautiful as they can be. AND that they last as long as possible.
Sean says the biggest mistake people make is trying to put too many annuals into a pot that’s too small. He advises that you have a big enough container, and that you be “reasonable” with the number of plants you put into it.
So how does Sean plant HIS annuals? And how does he get them to be “cranking and gorgeous” into October? We’ll take a look at the biggest mistakes he sees people make when planting their pots, and how to resolve those issues.
Mistake #1
Expecting your pot of annuals to look finished immediately.
Your plants in your pot are living, growing beauties. In fact, your plants will be growing for four to five more months, so packing them in from the get-go isn’t giving them the space they need to move and grow. More importantly, they won’t have the root space they need deep in the soil in order to grow and thrive for the rest of the summer.
Solution
Plant your plants with some “elbow” room, allowing them to grow and expand, enjoying the proper amount of soil and nutrients they need. They’ll repay you with a beautiful show.
Mistake #2
Putting something other than soil in the bottom part of your pot.
Many people add packing peanuts, plastic water bottles, wood chips, or some other stuffing material to the bottom third or half of their containers before adding potting soil. If you consider that you’ve made the investment into purchasing your pot and your plants, and you’re investing your time to plant your pot, why are you looking to save a few dollars and not buying enough potting soil to fill your pot?
Here’s the thing… Your plants are getting nutrients from the soil, and the more soil you give them, the more nutrients they have access to as the season progresses. AND, the more soil you give them, the less watering you have to do. Sean explains that by July/August, your plant’s roots have expanded into the soil to, say, the middle of your pot, and if you don’t have enough soil below that, they can start drying out more quickly. But if you have soil all the way to the bottom of your pot, those roots will happily reach toward it, especially when it’s cooler and moister down there. That takes stress away from your plant… And you!
Solution
Fill your pot—no matter how big or small it is—with potting soil and nothing else. And that includes gravel. Sean’s pro tip: Use coffee filters in the bottom of your pot to cover up the drain hole.
Depending on the size of your pot, put one or more coffee filters in the bottom of your pot in a single layer. Dump a little soil in and check the filters to be sure they’ve stayed in place, and then fill the pot as usual. The filters keep the soil in and let the water drain out. They also prevent the drain hole from getting plugged up with a soil “cork.”
Mistake #3
Setting the bottom of your pot directly on the ground, resulting in your deck getting stained.
Many times, when your pot is directly on the ground, the water you’ve been pouring into it can get trapped, slowly seeping out and staining your deck or porch or beautiful flagstones.
Solution
Use pot feet! Whether they’re ones you buy or ones you make (they could be simple blocks of wood!), they serve two functions: One, they keep the pot off the ground, and two, they make it easier for the water to go through the pot’s drain hole and get out from under the pot. This will eliminate the issue of poor drainage for the plants as well.
Mistake #4
Not adding the right kind of soil to your pot.
When you don’t put potting soil in your pot, you aren’t giving your plants the right balance of aeration, drainage, moisture retention and nutrition. Typically, other soils are heavier than potting soil and can quickly become compacted and saturated with water, resulting in poor or stunted growth of your container plants.
Solution
Fill your pot with potting soil. Not top soil. Not compost. And definitely not the soil from your yard. Any potting soil is good, and Sean (and the rest of The Gardener’s Center folks) likes the Coast of Maine Bar Harbor Blend Organic Potting Soil because, well, it’s awesome.
Proper Potting Technique: Putting it all together!
Here’s Sean’s potting process:
- Get a big enough pot for the plants you’ve chosen
- Put a layer of coffee filters in the bottom to cover the drain hole
- Add some potting soil
- Add some Espoma Plant-tone Organic Fertilizer or Osmocote Smart Release Plant Food
You want this down toward the bottom where your plants need to find it later in the growing season. Side note: Sean says if you don’t have Plant-tone, you can use any of the “tones” if you have it (Rose-tone, Bulb-tone, etc.); there’s no need to get something special. - Then add more soil and mix a little bit of fertilizer in the middle layer before you add your plants
- Put the plants in
- Add soil around your plants, filling in the gaps, leaving room at the top for watering
- Water well, but don’t soak the pot
- For the first month, water the top of the pot where the plants roots are; don’t flood them
And there you have it. If you want to know more, if you have questions, if you need plants, pots, pot feet, potting soil, fertilizer and what have you, come on in to The Gardener’s Center. We’ll be waiting…